

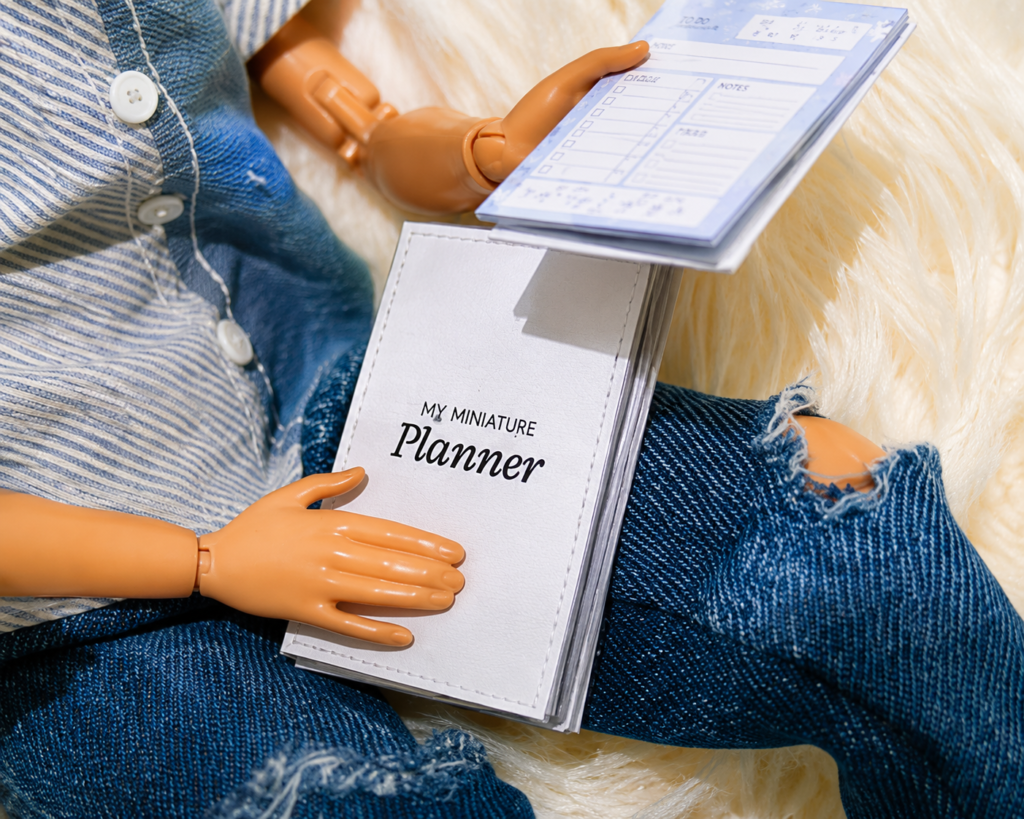
Ready to add a little sprinkle of organisation to your dollhouse world? Today we’re making an adorable miniature planner for your 1:6 scale dolls — a tiny diary with pages that really open, plus a matching set of daily and weekly planner sheets. It’s exactly the kind of little detail that makes a doll desk or study scene feel real, and it photographs beautifully. Best of all, the printable template is completely free — grab it further down and you can make one this afternoon.
What You’ll Make
A working 1:6 scale planner (that’s Barbie and fashion-doll size) with a printed cover and pages that open, plus loose daily and weekly sheets for desk and clipboard scenes. Finished, it’s about the size of a postage stamp — roughly 30 x 40 mm — so it tucks into a mini bag or sits open on a dollhouse desk.
- Scale: 1:6 (adaptable to 1:12 — see Variations)
- Time: about 30–45 minutes
- Difficulty: beginner-friendly, but the small size rewards a steady hand
What You’ll Need
- The free printable template (download link below)
- Cardstock or photo paper for the cover — gives crisp colour and a sturdy feel
- Regular printer paper for the inside pages (thinner paper folds better at this scale)
- Sharp scissors, and ideally a craft knife + cutting mat for clean straight edges
- Glue stick for pages, plus a little PVA/tacky glue for the spine
- A ruler and a bone folder (the back of a butter knife works too) for sharp folds
- Tweezers for handling the tiny pieces
- Optional: clear tape or Mod Podge for a glossy cover
How to Make a Miniature Planner (Step by Step)
Step 1: Download and print
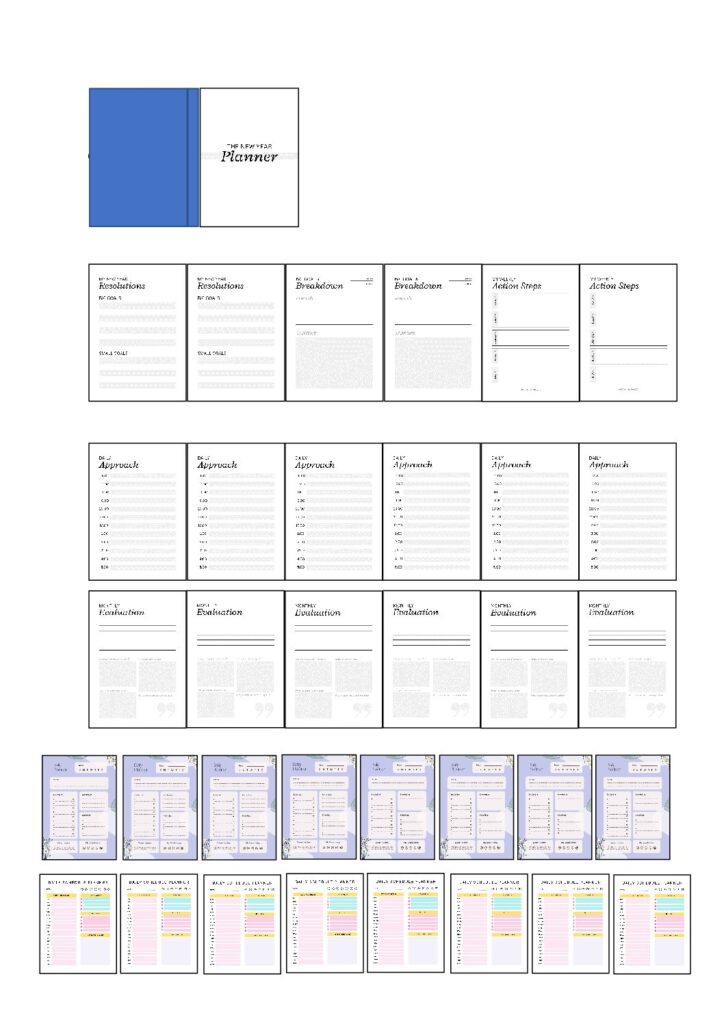
Print the cover onto cardstock or photo paper, and the inside pages onto regular paper. Set your printer to “Actual size” or 100% — never “Fit to page,” or the scale will drift and your planner won’t match your other 1:6 props. A4 works without resizing.
Step 2: Cut everything out
Cut out the cover and page sheets carefully. A craft knife against a ruler gives cleaner straight edges than scissors at this size — dull blades crush tiny paper, so use a fresh one if you can.
Step 3: Score and fold the cover
Line your ruler along the centre spine and run your bone folder down it to score a crease, then fold. Scoring first is the little trick that gives a crisp, professional spine instead of a cracked fold.
Step 4: Fold the pages accordion style
You need to fold the inside pages of the planner accordion style and you can also glue the pages in the back ( which is the white blank side).
Step 5: Bind it together
Run a thin line of glue along the folded spine and press it into the centre of the cover. Hold for a few seconds, then set it aside to dry under a small weight so the cover doesn’t warp. For a more realistic finish, sew a simple straight stitch down the spine instead of gluing.
Step 6: Finishing touches (optional)
Once dry, trim any pages that stick out so everything sits flush. For a glossy diary look, cover the outside with clear tape or a thin coat of Mod Podge.
Making the Daily & Weekly Planner Sheets
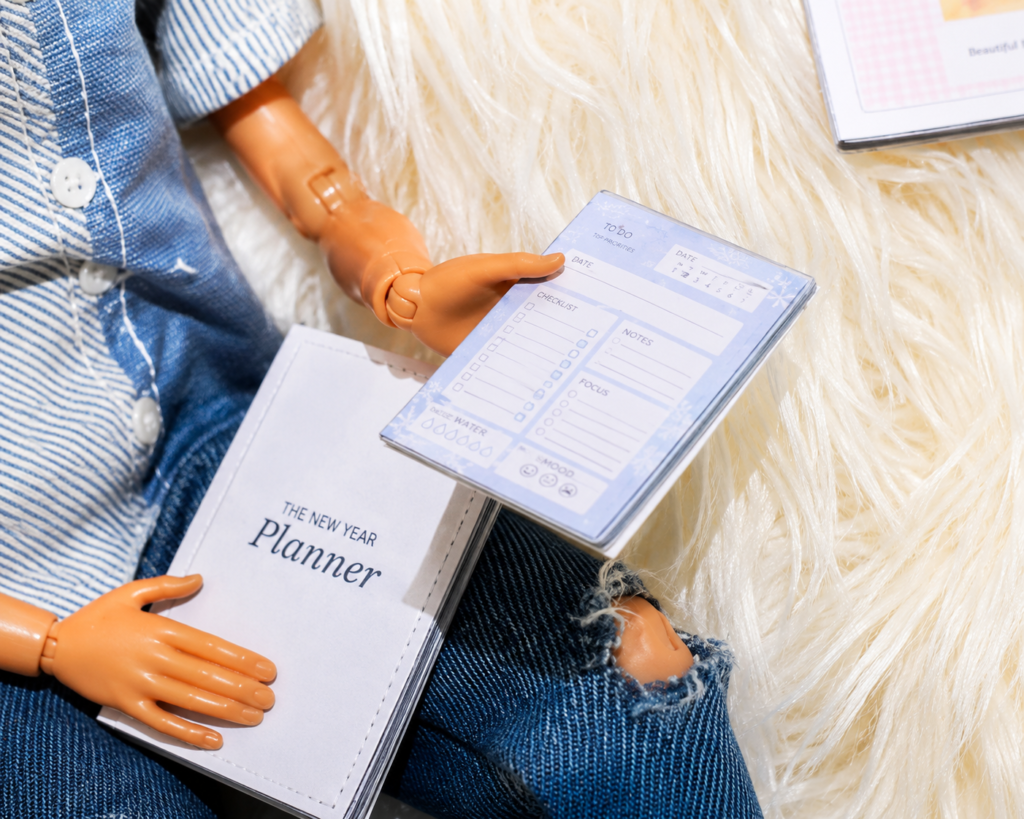
The set also includes loose daily and weekly planner sheets. Print them on regular paper and cut them into individual pages. Leave them loose for a “work in progress” desk scene, clip a few to a mini clipboard, or tuck one under a doll’s hand mid-photo. They’re the fastest part of the whole project and add instant life to an office or study diorama.
Tips for Working at This Tiny Scale
- Print at actual size (100%) every time so your minis stay consistent with each other.
- Handle with tweezers — finger oils smudge printed paper and make small pieces hard to place.
- Photo-paper covers hold colour best and resist curling.
- Weigh glued pieces down while they dry to keep everything flat.
- Work over a light-coloured cutting mat so you don’t lose tiny cut pieces.
Fun Variations
- Make it 1:12 scale: print the template at 50% for standard dollhouse size.
- Personalise the cover with your doll’s name or a favourite colour.
- Build a matching set — the same method makes mini notebooks, a wall calendar and sticky notes.
- Go seasonal: a festive cover makes a lovely Christmas or back-to-school scene.
Where to Use Your Mini Planner
Style it open on a doll’s desk, peeking out of a handbag, on a bedside table, or propped on a bookshelf. In photos, placing it in your doll’s hands instantly tells a little story — she’s planning her week, just like we do. These small, believable props are exactly what make a 1:6 scene feel alive.
Frequently Asked Questions
What size or scale is this miniature planner?
It’s made for 1:6 scale (Barbie and other 11–12-inch fashion dolls). You can shrink it for 1:12 dollhouses by printing at 50%.
What paper should I use?
Cardstock or photo paper for the cover, and regular printer paper for the inside pages so they fold cleanly.
Do the pages actually open?
Yes — made this way, the planner opens like a real diary, which is what makes it so fun for photos.
What printer settings do I need?
Print at 100% / “Actual size” on A4. Avoid “Fit to page,” which changes the scale.
Is the template really free?
Yes, completely free to download and make for your own dollhouse fun.
Grab Your Free Miniature Planner Template
Ready to start? Download the free miniature planner template here, print it at 100% on A4, and follow the steps above — you’ll have the cutest little planner for your dolls in no time.
TEMPLATE 1
TEMPLATE 2
Want to see it come together? Watch the step-by-step video on our YouTube channel, and if you make one, share your photos and tag us @thedollywooddreams on Instagram. Happy crafting, mini makers!
Looking for more desk accessories? Try our miniature notepads and classmate drawing books to complete the set.